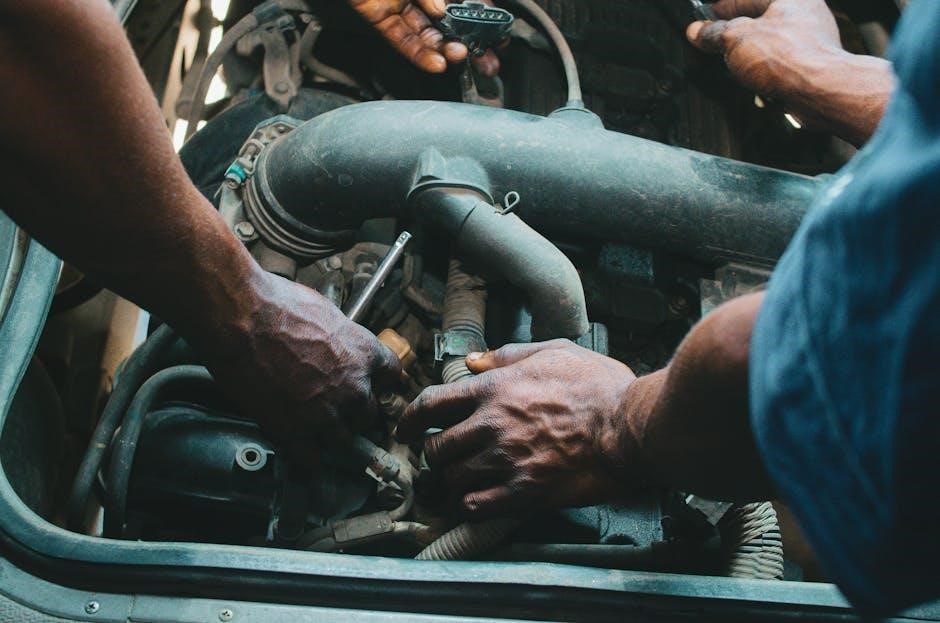
Common GE Dryer Issues and Symptoms
GE dryers often face issues like incorrect dry times, faulty thermostats, and board failures. Users report problems with exhaust vents, clogged lint filters, and electrical circuit tripping. Timed dry settings may malfunction, while excessive noise and vibration indicate worn drum rollers or belts. Regular maintenance, such as cleaning filters and checking venting, is crucial to prevent fire hazards and ensure efficient drying performance.
1.1. Dryer Not Turning On
If your GE dryer won’t turn on, check the circuit breaker or fuse box to ensure power is restored. A tripped breaker or blown fuse is a common issue. Verify the outlet is working and the dryer is properly plugged in. Faulty start switches or worn door switches can also prevent operation. Additionally, control board failures or faulty thermostats may cause the dryer to remain unresponsive. Always consult your manual or contact GE support for assistance.
1.2. Dryer Not Heating

A GE dryer not heating may indicate a faulty heating element or thermostat failure. Check for blockages in the exhaust vent, as restricted airflow can prevent proper heating. Ensure the dryer is set to a heat cycle, as some settings may run without heat. A tripped circuit breaker or failed high-limit thermostat could also be the cause. Cleaning the vent system and inspecting electrical connections are recommended troubleshooting steps.
1.3. Excessive Noise or Vibration
Excessive noise or vibration in your GE dryer may be caused by worn drum rollers or a loose drum belt. Over time, these components can degrade, leading to increased friction and noise. Additionally, improper balancing of the dryer or a overloaded drum can contribute to vibrations. Inspecting and replacing worn parts, ensuring the dryer is level, and avoiding heavy loads can help mitigate these issues and restore smooth operation.
1.4. Clothes Taking Too Long to Dry
Clothes taking too long to dry in your GE dryer may be due to clogged vents, a blocked lint filter, or improper venting. Ensuring the lint filter is cleaned after each use and checking for kinked or obstructed vent hoses can improve airflow. Additionally, verifying that the dryer is properly vented to the outdoors and checking for blockages in the duct system can help restore efficient drying performance and reduce cycle times.
Diagnostic Tools and Techniques
Diagnostic tools for GE dryers include error codes, multimeters for electrical checks, and visual inspections of vents and belts. These help identify issues efficiently.
2.1. Understanding Error Codes
GE dryers display error codes to indicate specific issues. Codes like “E1” or “E2” signal problems such as faulty sensors or communication errors. Referencing the user manual or GE’s support website helps decode these errors. For instance, error codes related to heating or power issues can guide troubleshooting steps, such as resetting the circuit breaker or cleaning the vent system. Understanding these codes is key to diagnosing and resolving issues efficiently;
2.2. Using a Multimeter for Electrical Checks
Using a multimeter is essential for diagnosing electrical issues in GE dryers. Ensure the dryer is unplugged before testing. Measure voltage at outlets and check continuity in heating elements, thermostats, and sensors. Set the multimeter to DC or AC voltage, depending on the component. If readings are inconsistent with specifications, it may indicate faulty parts needing replacement. Always refer to the appliance’s manual for specific guidelines.

Regular Maintenance Tips
Regularly clean the lint filter after each use and inspect the vent system for blockages. Check belt and drum rollers for wear, ensuring smooth operation and efficiency.
3.1. Cleaning the Lint Filter
Cleaning the lint filter after each use is essential to ensure proper airflow and prevent fire hazards. Remove the filter and wipe away lint with your hands or a soft brush. For stubborn residue, gently vacuum or rinse with water. Regular cleaning improves drying efficiency and reduces energy consumption. Reinstall the filter securely before running the next cycle.
3.2. Inspecting and Cleaning the Vent System
Inspect the vent system for blockages or kinks, as these can restrict airflow and cause longer drying times. Detach the vent from the dryer and outdoor vent. Clean out lint, debris, and dust using a vacuum or soft brush. Ensure the venting system is properly aligned and securely reattached. Regular cleaning prevents fire hazards and improves drying efficiency, reducing energy consumption and extending the dryer’s lifespan.
3.3. Checking Belt and Drum Rollers
Inspect the dryer belt for cracks or wear. A damaged belt can cause the drum to stop rotating, leading to clothes not drying. Check drum rollers for lubrication and wear; worn rollers may cause excessive noise or vibration. Replace any faulty parts to ensure smooth operation and prevent further damage. Regular checks help maintain efficiency and prevent unexpected breakdowns, extending the dryer’s operational life.
Troubleshooting Electrical Issues
Common electrical issues include tripped circuit breakers and faulty thermostats. Check for loose connections and test electrical components using a multimeter. Always ensure power is off before testing to avoid hazards. Resetting the circuit breaker or replacing defective thermostats can often resolve these problems. Consult the manual or a professional for complex diagnostics.
4.1. Resetting the Circuit Breaker
Resetting the circuit breaker is a straightforward solution for electrical issues. Locate the breaker controlling the dryer, switch it off, and wait one minute. Turn it back on and test the dryer. If the breaker trips again, it may indicate an overloaded circuit or faulty component. Always ensure the dryer is unplugged before performing any internal repairs. This step can resolve power-related problems effectively.
4.2. Checking for Faulty Thermostats
GE dryers may experience issues with faulty thermostats, leading to incorrect dry times or no heat. To check, locate the thermostat, often near the heating element or exhaust duct. Disconnect power before testing with a multimeter for continuity. If the thermostat fails, replace it. Always consult the manual for specific instructions or contact a professional if unsure. Regular checks can prevent prolonged drying times and ensure safe operation.

Electronic Control Board Problems
GE dryers may experience electronic control board issues, such as malfunctioning displays or unresponsive controls. Hard resets or board replacements are often necessary to restore functionality.
5.1. Signs of a Faulty Control Board
Signs of a faulty GE dryer control board include unresponsive buttons, erratic display behavior, and incorrect dry times. The dryer may fail to start or stop mid-cycle. Users report issues like stuck timers and inability to change settings, often requiring a hard reset or professional intervention to diagnose and replace the faulty board.
5.2. Performing a Hard Reset
To perform a hard reset on your GE dryer, switch off the circuit breaker for one minute. Turn it back on and test the dryer. This resets the control board. If issues persist, contact a professional for further diagnosis.

Exhaust Vent and Ducting Issues
Blockages in vents and ducts can cause longer drying times and fire hazards. Ensure proper venting to improve efficiency and safety. Clean regularly to prevent buildup.
6.1. Identifying Blockages
Blockages in GE dryer vents often stem from lint buildup or debris. To identify issues, detach the exhaust vent and check airflow at the back. Reduced air circulation can extend drying times and pose fire risks. Regular cleaning and inspections are essential to maintain efficiency and safety. Use a vacuum or brush to clear obstructions promptly. Ensure vents are unobstructed for optimal performance. Always prioritize proper ventilation to prevent hazards and improve drying effectiveness. Regular maintenance helps prevent such issues from arising repeatedly. By addressing blockages early, you can avoid more severe problems down the line, ensuring your dryer operates smoothly and safely.
6.2. Ensuring Proper Venting
Proper venting is crucial for GE dryer efficiency and safety. Regularly inspect the vent system for kinks, damage, or obstructions. Ensure the vent hose is securely connected to both the dryer and the outdoor vent. Use a vacuum or brush to clear lint buildup in the ducts. Replace any damaged or crushed sections to maintain optimal airflow. Proper venting reduces drying times, prevents fire hazards, and extends the dryer’s lifespan. Always ensure the vent exits directly outdoors to avoid moisture buildup and improve performance. Regular checks and maintenance are key to maintaining proper venting and ensuring safe operation.
Replacing Faulty Parts
Common replacements include the heating element, moisture sensor, and drum belts. Always use OEM parts for compatibility. Refer to your manual for safe replacement procedures.
7.1. When to Replace the Heating Element
The heating element should be replaced if the dryer stops producing heat or shows error codes related to temperature control. A faulty element can cause longer drying times or no heat at all. Always disconnect power before attempting replacement. Use a multimeter to test for continuity and ensure the element is properly seated to avoid further issues and ensure safety.
7.2. Replacing the Moisture Sensor
Replace the moisture sensor if the dryer incorrectly detects moisture levels, causing over-drying or under-drying. Disconnect power before starting. Locate the sensor, usually near the drum, and test it with a multimeter for continuity. If faulty, install a new sensor, ensuring proper alignment and connections. This prevents inconsistent drying performance and ensures energy efficiency. Always refer to your GE manual for specific instructions.

Safety Precautions
Prevent fire hazards by ensuring proper venting and cleaning lint buildup. Always unplug the dryer before repairs to avoid electrical shock. Follow manufacturer guidelines strictly.
8.1. Preventing Fire Hazards
Regularly clean the lint filter and vent system to reduce fire risks. Inspect for blockages in the exhaust vent, as restricted airflow can cause overheating. Ensure proper installation and avoid kinking the vent hose. Never overload the dryer, and keep flammable materials away. Always unplug the dryer before repairs and avoid using damaged cords. Regular maintenance helps prevent fires and ensures safe operation.
8.2. Proper Electrical Safety
Always turn off the circuit breaker before performing repairs. Use a multimeter to check for power at electrical components. Avoid testing live circuits, as this can cause shocks or damage. Ensure the dryer is unplugged before servicing. Keep the area dry to prevent electrical hazards. Never bypass safety features or ignore tripped breakers, as this can lead to serious electrical issues or fires. Prioritize caution when handling electrical parts.
Regular maintenance and timely repairs are essential for optimal GE dryer performance. By addressing common issues like lint buildup, faulty thermostats, and electrical problems, users can extend appliance life. Always follow safety guidelines and consult the manual for specific instructions. If unresolved issues persist, contacting a professional is recommended to ensure safety and efficiency. Proper care ensures reliable operation and prevents potential hazards.