
The Honeywell 4000 thermostat is a 5-2 day programmable model designed for energy efficiency and ease of use‚ ideal for heat pumps and standard HVAC systems.
Overview of the Honeywell 4000 Thermostat
The Honeywell 4000 thermostat is a 5-2 day programmable model designed for energy efficiency and ease of use. It features a clear display‚ programmable settings for heat and cool systems‚ and compatibility with heat pumps. The thermostat is battery-powered or can be connected to a 24V AC power source. Its intuitive design allows users to set temperature schedules‚ adjust fan settings‚ and monitor system performance. It is ideal for homeowners seeking a reliable‚ user-friendly solution for managing their HVAC systems effectively.
Importance of Proper Installation
Proper installation of the Honeywell 4000 thermostat is crucial for optimal performance and energy efficiency. Incorrect wiring or placement can lead to system malfunctions‚ increased energy bills‚ and reduced lifespan. Ensuring the thermostat is installed at the correct height and in a location with good airflow is essential for accurate temperature readings. Following the manufacturer’s guidelines and using the correct tools helps prevent errors and ensures reliable operation‚ making proper installation a key factor in maximizing the thermostat’s benefits.

Pre-Installation Steps
Before installing the Honeywell 4000 thermostat‚ ensure you have all necessary tools‚ verify system compatibility‚ and shut off power to the HVAC system for safety.
Pre-Installation Checklist
A pre-installation checklist for the Honeywell 4000 thermostat includes verifying the package contents‚ ensuring compatibility with your HVAC system‚ and preparing necessary tools like a screwdriver and wire strippers. Additionally‚ confirm the presence of a C-wire or plan for alternative power solutions. Check thermostat placement for optimal air circulation and ensure all power is turned off at the circuit breaker before starting the installation process.
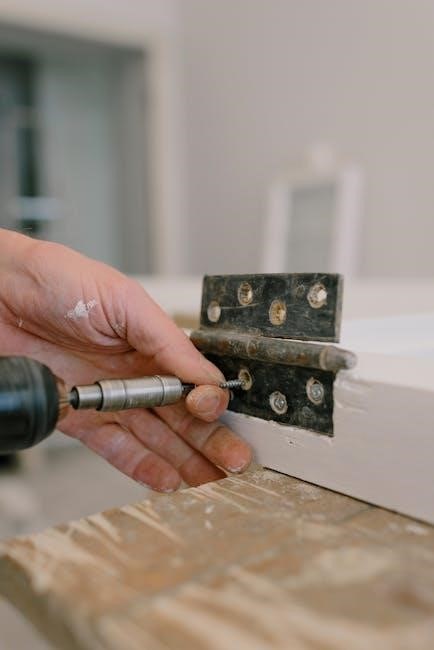
Required Tools and Materials
For installing the Honeywell 4000 thermostat‚ you’ll need a screwdriver‚ wire strippers‚ and a drill with bits for wall anchors. Ensure you have the thermostat unit‚ wallplate‚ mounting screws‚ and batteries. Additional materials like wire connectors and a voltage tester are recommended. Use 18-22 gauge thermostat wire for connections‚ and have a ladder or step stool for safe installation. Always refer to the manual for specific requirements to ensure a smooth setup process.
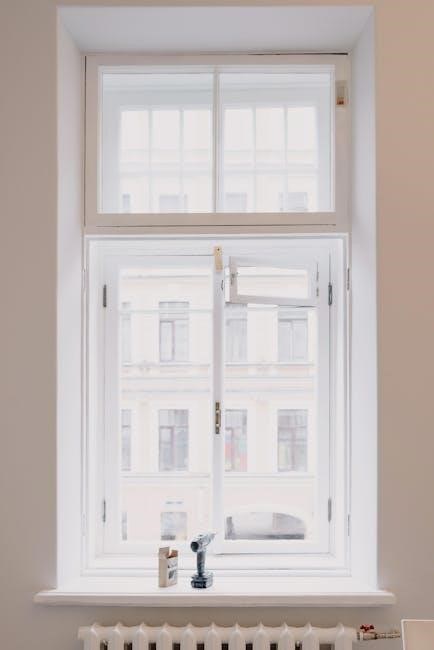
Choosing the Right Location for Installation
Install the Honeywell 4000 thermostat 5 feet above the floor in an area with good air circulation and average room temperature. Avoid direct sunlight‚ drafts‚ or proximity to vents‚ as this can affect temperature readings. Ensure the location provides a accurate representation of room conditions for optimal performance. If the old thermostat’s location doesn’t meet these criteria‚ consider moving it to a more suitable spot for reliable operation and energy efficiency.

Wiring and Connections
The Honeywell 4000 thermostat uses standard R‚ W‚ Y‚ G‚ C‚ and other terminals for wiring. Ensure proper connections for HVAC system control‚ with the C wire optional but recommended for continuous power supply.
Understanding Terminal Labels and Wiring Diagrams
Terminal labels on the Honeywell 4000 thermostat include R‚ W‚ Y‚ G‚ C‚ and others‚ each serving specific functions like heating‚ cooling‚ and fan control. Wiring diagrams provided in the manual guide connections‚ ensuring proper setup for HVAC systems. The C wire‚ if present‚ supplies continuous 24V power. Correctly matching wires to terminals is crucial for system operation. Use 18-22 gauge wires for safe installation. For heat pumps‚ a jumper between W and Y terminals may be required‚ as detailed in the wiring instructions.
Connecting Wires to the Thermostat
Match wires from your HVAC system to the Honeywell 4000 thermostat terminals‚ ensuring correct connections for heating‚ cooling‚ and fan functions. Securely attach wires to terminals like R‚ W‚ Y‚ G‚ and C (if applicable). Use 18-22 gauge wires for reliable connections. Avoid over-tightening to prevent damage. Refer to the wiring diagram in the manual for specific configurations. If unsure‚ consult a professional to ensure proper installation and system functionality.
Handling the C-Wire (Common Wire)
The C-wire provides continuous 24VAC power to the Honeywell 4000 thermostat. If your system lacks a C-wire‚ you may need to run a new cable or use a compatible adapter. Connect the C-wire to the C terminal on both the thermostat and HVAC system. Proper installation ensures uninterrupted power‚ essential for smart features and reliable operation. Always turn off power before handling wires to avoid electrical hazards or system damage.
Installation Process
Mount the wallplate‚ attach the thermostat‚ and connect wires carefully. Ensure all terminals match your HVAC system for proper functionality and safe operation.
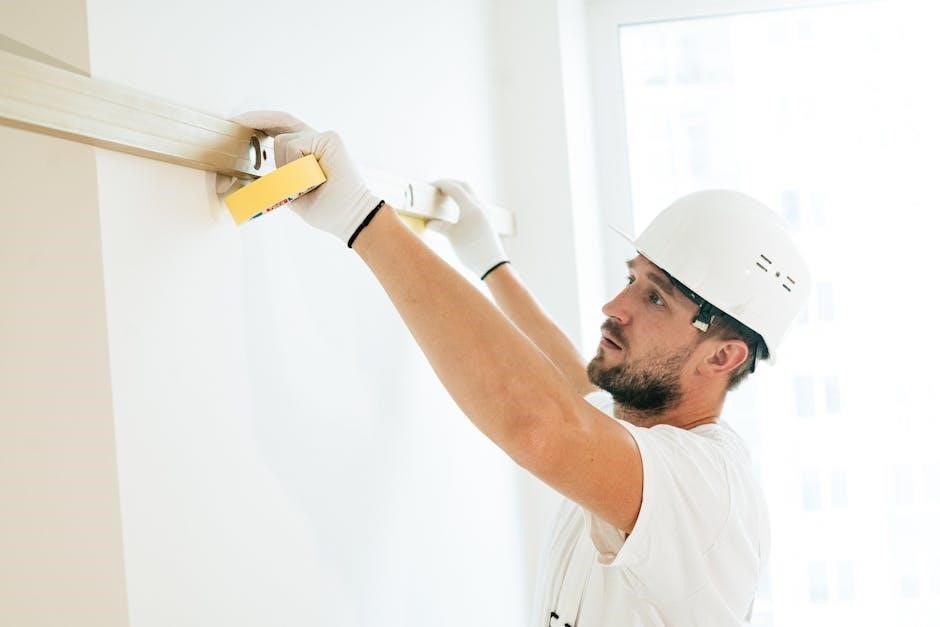
Mounting the Wallplate
Begin by detaching the wallplate from the thermostat. Drill holes in the wall (3/16″ for drywall or 7/32″ for plaster) and insert wall anchors. Mount the wallplate securely‚ ensuring it is level and positioned about 5 feet above the floor in an area with good air circulation. Avoid locations exposed to direct sunlight or drafts. This ensures accurate temperature sensing and proper system operation. Follow the installation guide for precise alignment and secure fastening.
Attaching the Thermostat to the Wallplate
Once the wallplate is mounted‚ align the thermostat with the wallplate‚ ensuring proper alignment of the mounting screws. Gently press the thermostat onto the wallplate and secure it using the provided screws. Make sure the thermostat is level and firmly attached. If batteries are required‚ insert them into the back of the thermostat before attaching it to the wallplate. This ensures a secure connection and proper functionality of the device. Follow the installation guide for precise alignment and tightening.
Connecting the Wires to the Thermostat
Connect the wires to the thermostat terminals as per the wiring diagram in the manual. Ensure the power to the HVAC system is off before connecting any wires. Match the wires to the correct terminals (e.g.‚ R‚ W‚ Y‚ G‚ C) to avoid damage. If using a C-wire‚ connect it to the common terminal. Secure the wires firmly to the terminals. Double-check the connections for accuracy. If unsure‚ refer to the installation manual or seek professional assistance to avoid system malfunctions.
Programming and Setup
Set the time and day‚ then program temperature settings for different periods. Navigate the menu to customize options like fan operation and energy-saving modes for optimal performance.
Setting the Time and Day
Press the SET button to enter the time-setting mode. Use the arrow keys to adjust the hour and minute. Select the correct day using the DAY button. Ensure the time and day are accurate for proper scheduling. Save your settings by pressing DONE. This ensures your thermostat operates according to your programmed schedule and maintains energy efficiency; Proper time setup is crucial for all advanced features to function correctly.
Programming Temperature Settings
Program your desired temperatures for different periods using the arrow keys. Set temperatures for wake‚ leave‚ return‚ and sleep periods. Select the day(s) and adjust the heat and cool settings. Use the SET button to save changes. Energy Star settings are pre-programmed but can be customized. Ensure temperatures align with your schedule for optimal energy savings. Refer to the manual or Honeywell’s website for detailed guidance on advanced programming features and customization options.

Navigating the Thermostat Menu
Use the arrow keys to scroll through menu options. Press SET to select a menu item and adjust settings. Navigate to “System” to configure heat/cool options. Access “Time” and “Day” settings for scheduling. Use the “Fan” option to control airflow. The menu also includes advanced features like adaptive recovery and compressor protection. Refer to the display prompts for guidance. Save changes by pressing SET or exit without saving by pressing the return arrow.
Troubleshooting and Maintenance
Check for a blank display by verifying circuit breaker and power switches. Ensure system switch is set correctly. Replace batteries when low battery warning flashes. Refer to the manual for specific solutions and maintenance tips to ensure optimal performance and extend the thermostat’s lifespan. Regularly clean the thermostat to prevent dust buildup and ensure accurate temperature readings. For complex issues‚ consult the troubleshooting section in the user guide or contact Honeywell support for assistance. Always turn off power before performing any maintenance tasks to avoid damage or electrical hazards. Proper maintenance will help maintain energy efficiency and system reliability‚ ensuring your home remains comfortable year-round. If issues persist‚ consider updating the firmware or software to the latest version available from Honeywell’s official website. This will ensure all features function correctly and any bugs are resolved. Additionally‚ check for loose wiring connections‚ as this is a common cause of thermostat malfunctions. If you suspect a wiring issue‚ refer to the installation manual or consult a professional for assistance. Regularly inspect the thermostat’s components‚ such as the display screen and buttons‚ for wear and tear. Replace any damaged parts promptly to maintain functionality. For users who prefer a hands-off approach‚ Honeywell offers smart thermostat models that can automatically detect and report issues‚ sending notifications to your smartphone. This proactive approach to maintenance can prevent minor problems from becoming major issues. Furthermore‚ ensure that the thermostat is installed in an area with good air circulation to avoid inaccurate temperature readings. Avoid placing furniture or curtains near the thermostat‚ as this can disrupt airflow and affect performance. If you live in an area with high humidity‚ consider using a dehumidifier or ensuring your HVAC system is equipped to handle moisture‚ as this can impact the thermostat’s operation. Always follow Honeywell’s recommended maintenance schedule to keep your thermostat in optimal condition. By taking these steps‚ you can enjoy consistent heating and cooling while minimizing the need for repairs. If you’re unsure about any aspect of troubleshooting or maintenance‚ it’s always best to err on the side of caution and seek professional help. This not only ensures your safety but also the longevity of your thermostat and HVAC system. Remember‚ proper maintenance is key to maximizing energy savings and maintaining a comfortable home environment.
Common Issues and Solutions
Common issues with the Honeywell 4000 thermostat include a blank display‚ incorrect temperature readings‚ or unresponsive controls. Solutions often involve checking circuit breakers‚ ensuring proper system switch settings‚ or replacing low batteries. If the thermostat fails to activate heating or cooling‚ verify wiring connections and ensure the C-wire is properly installed. For temperature discrepancies‚ recalibrate the thermostat or check for loose wiring. Humidity-related issues may require adjusting settings or using a dehumidifier. Always refer to the manual for detailed troubleshooting steps.
Updating Firmware and Software
Regularly updating the Honeywell 4000 thermostat’s firmware and software ensures optimal performance‚ enhanced features‚ and improved security. To update‚ access the thermostat menu‚ select the update option‚ and follow on-screen instructions. Some models may require a bridge device or connection to Honeywell’s servers. Always use the latest version from Honeywell’s official website or app. Updates may improve energy-saving features‚ compatibility‚ and user interface functionality. Refer to the manual for specific instructions tailored to your thermostat model.
Cleaning and Maintaining the Thermostat
Cleaning and maintaining the Honeywell 4000 thermostat is straightforward. Power down the device before cleaning to avoid electrical issues. Use a soft‚ dry cloth to wipe the display and exterior‚ avoiding harsh chemicals. Regularly check and replace batteries if applicable. Ensure the thermostat is level and free from dust buildup. Proper maintenance ensures accurate temperature readings and optimal performance. Refer to the manual for detailed care instructions to extend the lifespan of your Honeywell 4000 thermostat.
The Honeywell 4000 thermostat offers a user-friendly experience with energy-saving features. Proper installation and maintenance ensure optimal performance. Follow the manual for long-term efficiency and reliability.
Final Checks and Verification
After installation‚ perform a series of final checks to ensure proper functionality. Verify the thermostat display lights up and shows the correct temperature. Test the heating and cooling systems to confirm they activate as programmed. Check all wire connections for accuracy and ensure no loose ends. Review the programmed settings to match your daily schedule. If using battery power‚ confirm the C-wire is not required. Finally‚ test the fan operation and ensure no error messages appear on the display.
Energy-Saving Tips and Features
The Honeywell 4000 thermostat offers energy-saving features like 5-2 day programming‚ allowing you to set different temperatures for weekdays and weekends. Its adaptive recovery feature learns your system’s behavior to pre-heat or pre-cool‚ reducing energy waste. Use the Energy Star-approved settings for optimal savings. Regularly cleaning the thermostat and ensuring proper installation also improve efficiency. Consider adjusting temperature settings by 1-2 degrees to minimize energy use without sacrificing comfort‚ lowering your utility bills and environmental impact.