

The Honeywell TH4110U2005 is a programmable thermostat from the T4 Pro Series, designed for residential HVAC systems. It offers a user-friendly interface with push-button controls, seven-day scheduling, and energy-saving features. The thermostat is easy to install and use, with on-screen installation guides and adaptive recovery for efficient temperature control. Its sleek design and intuitive functionality make it a popular choice for homeowners seeking convenience and energy efficiency.
1.1 Overview of the Honeywell T4 Pro Series
The Honeywell T4 Pro Series, including the TH4110U2005, offers a range of programmable thermostats designed for simplicity and efficiency. These thermostats feature intuitive interfaces, push-button controls, and seven-day scheduling. They are compatible with various HVAC systems and provide energy-saving options. The series is known for its ease of installation and use, making it a practical choice for homeowners seeking reliable temperature control with minimal complexity.
1.2 Key Features of the TH4110U2005 Model
The Honeywell TH4110U2005 features a programmable interface with push-button controls and a seven-day scheduling option, including weekend adjustments. It offers adaptive recovery for efficient temperature control and energy-saving settings. The thermostat is compatible with various HVAC systems and includes a universal mounting system for easy installation. Additional features like a backlit display and optional cover plate enhance its functionality and aesthetic appeal, making it a versatile choice for home comfort management.

System Requirements and Compatibility
The Honeywell TH4110U2005 is compatible with most HVAC systems, including gas, electric, and heat pump configurations. It requires a C wire for optimal performance and proper installation.

2.1 Compatible HVAC Systems
The Honeywell TH4110U2005 is compatible with conventional gas/electric, heat pump, and fan coil systems. It supports two-stage heating and cooling, making it versatile for various residential setups. Proper compatibility ensures optimal performance and energy efficiency, tailored to different HVAC configurations.
2.2 Power Requirements and Wiring Needs
The Honeywell TH4110U2005 requires a 24VAC power supply and is compatible with systems using 4-6 wires. It can function with or without a common wire (C-wire), offering flexibility. Battery-powered operation is also available, eliminating the need for a C-wire. Proper wiring ensures reliable performance and avoids potential issues during installation or use.
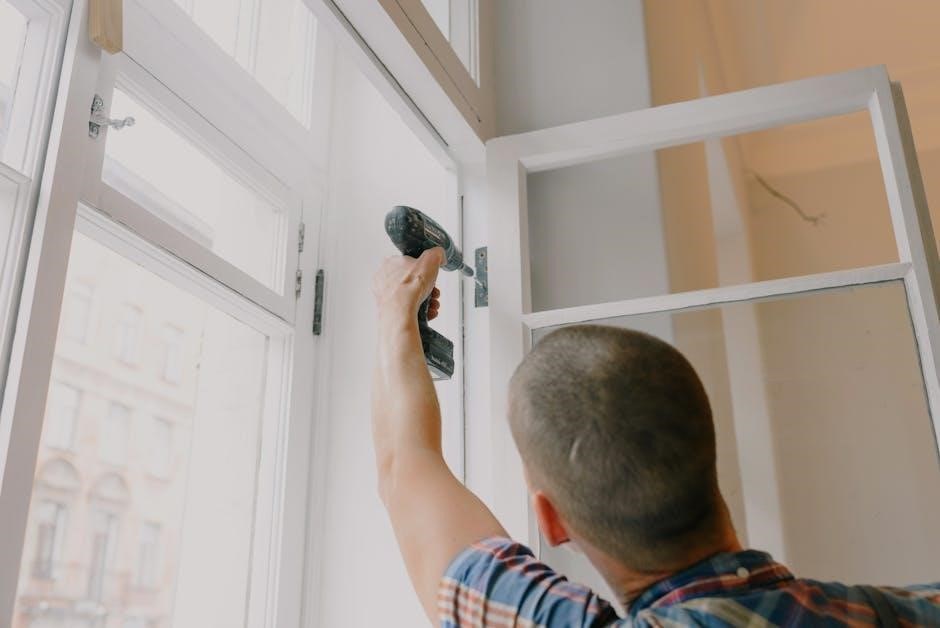
Installation Process
The Honeywell TH4110U2005 installation involves removing the old thermostat, connecting wires to the terminal layout, and mounting the new device using the UWP system. On-screen guides simplify the process, ensuring a smooth setup and proper functionality.
3.1 Pre-Installation Checklist
- Turn off power to the HVAC system at the circuit breaker.
- Gather tools: screwdriver, wire strippers, and a ladder if needed.
- Remove the old thermostat and label wires for identification.
- Verify compatibility with your HVAC system type.
- Ensure the wall is clean and flat for proper mounting.
- Check for the presence of a C-wire or plan for battery operation.
3.2 Step-by-Step Installation Guide
- Mount the wallplate to the electrical junction box using screws.
- Connect wires to the appropriate terminals based on your HVAC system.
- Attach the thermostat to the wallplate, ensuring secure alignment.
- Power on the system and follow on-screen prompts for setup.
- Test heating and cooling functions to confirm proper operation.

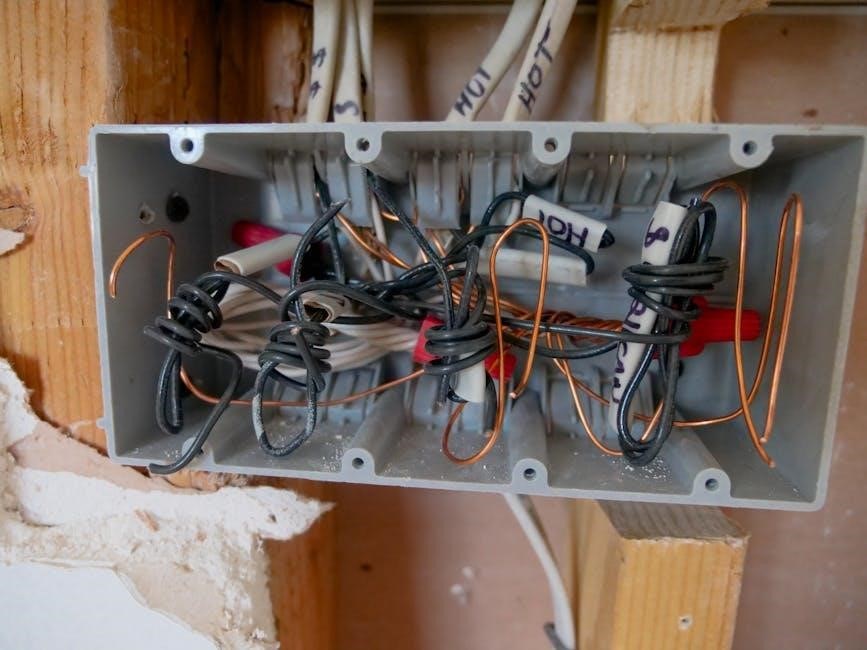
Wiring and Connections
The Honeywell TH4110U2005 thermostat requires proper wiring to function. Connect the wires to the appropriate terminals on the wallplate, ensuring correct polarity. Use the terminal layout guide for reference. Secure all connections firmly to avoid issues. If unsure, consult the installation manual or contact a licensed electrician for assistance.
4.1 Understanding the Terminal Layout
The Honeywell TH4110U2005 thermostat features a clear terminal layout with labeled connections for R, W, Y, G, C, and other terminals. Each terminal corresponds to specific HVAC functions, such as heating, cooling, and fan control. Refer to the installation manual for a detailed diagram and descriptions of each terminal. Proper identification and connection are crucial for ensuring the thermostat operates correctly with your HVAC system.
4.2 Connecting Wires to the Thermostat
When connecting wires to the Honeywell TH4110U2005, ensure the power is off at the circuit breaker. Match each wire to the corresponding terminal (R, W, Y, G, C, etc.) based on your HVAC system; Use the provided wire labels for clarity. Securely tighten all connections to avoid loose wires. Double-check the wiring configuration against the installation manual to ensure proper functionality and safety.
Initial Setup and Programming
Start by pressing the Menu button to configure basic settings like temperature, time, and date. Use the on-screen instructions to set up your preferred schedule and options.
5.1 Configuring Basic Settings
Configure basic settings by pressing the Menu button to access temperature, time, and date settings. Use the arrows to adjust values, and press Save to confirm. The screen stays lit for 45 seconds with a C wire or 8 seconds on batteries. Default settings are pre-programmed, but you can customize them to suit your preferences. Ensure all changes are saved to maintain your configurations.
5.2 Setting Up a Weekly Schedule
To set up a weekly schedule, press Menu and navigate to Schedule Settings. Select the desired day(s) and time periods, then choose your preferred temperature. Use the arrows to adjust the setpoints and press Save. You can set different schedules for weekdays and weekends. The thermostat allows up to four temperature points per day. Once configured, your schedule will run automatically, ensuring consistent comfort and energy efficiency. The device also supports overriding the schedule temporarily if needed.
Advanced Features and Customization
The Honeywell TH4110U2005 offers advanced features like adaptive recovery and smart response, which learn your system’s behavior to optimize heating and cooling. Energy-saving settings allow customization of temperature ranges and fan operation. Users can also enable vacation mode for extended periods. These features enhance comfort and efficiency while providing flexibility to tailor the thermostat to your lifestyle and preferences.
6.1 Using Adaptive Recovery and Smart Response
The Honeywell TH4110U2005 features Adaptive Recovery and Smart Response technologies. Adaptive Recovery learns your system’s behavior to reach desired temperatures by the scheduled time. Smart Response continuously adjusts heating and cooling to maintain comfort and efficiency. These features work together to optimize performance, reducing energy use while ensuring consistent temperatures. They can be enabled through the thermostat’s menu for customized energy management and enhanced comfort.
6.2 Energy-Saving Settings and Options
The Honeywell TH4110U2005 offers advanced energy-saving features, including energy-saving modes and vacation settings. It allows users to customize temperature ranges and schedule setbacks to optimize energy use. The thermostat also learns your system’s efficiency to avoid unnecessary heating or cooling. These settings help reduce energy consumption while maintaining comfort, making it an eco-friendly and cost-effective solution for homeowners.
Troubleshooting Common Issues
Common issues include display problems or temperature control errors. Check wiring connections, ensure proper power supply, and reset the thermostat if necessary. Refer to the manual for detailed solutions.
7.1 Diagnosing Display Problems
Display issues may arise due to power supply problems or loose wiring. Ensure the thermostat is properly powered, either by batteries or a C-wire. Check for corrupted displays by resetting the device. Adjust screen brightness settings if the display is too dim or too bright. Consult the manual for specific troubleshooting steps or contact Honeywell support if issues persist.
7.2 Resolving Temperature Control Issues
If the thermostat isn’t maintaining the set temperature, check the schedule settings and ensure they’re correctly programmed. Verify that the HVAC system is functioning properly and that all wires are securely connected. Reset the thermostat by removing batteries or disconnecting power temporarily. If issues persist, consult the installation manual or contact Honeywell customer support for further assistance.
Maintenance and Upkeep
Regularly clean the thermostat’s display and body with a soft cloth. Replace batteries every 12 months or when low-battery alerts appear. Ensure all wires are secure.
8.1 Cleaning the Thermostat
Regular cleaning ensures optimal performance. Use a soft, dry cloth to wipe the display and exterior. Avoid harsh chemicals or liquids, as they may damage the device. For stubborn marks, slightly dampen the cloth but avoid moisture ingress. Turn off power before cleaning to prevent electrical issues. This maintenance helps maintain accuracy and extends the thermostat’s lifespan, ensuring reliable temperature control and energy efficiency.
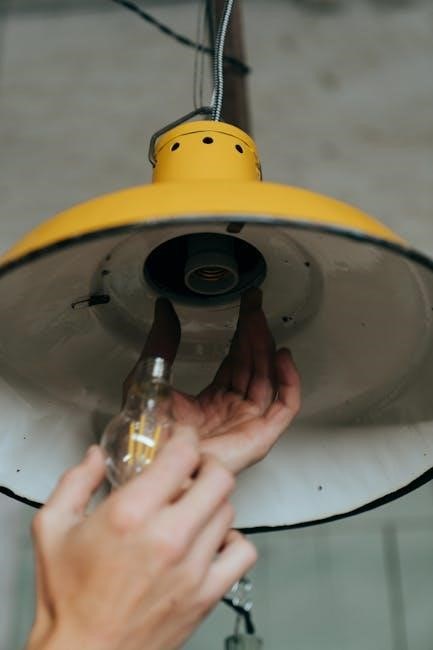
8.2 Replacing Batteries
To replace the batteries, remove the wall plate and gently pull out the old batteries from the compartment. Insert two new AA alkaline batteries, ensuring the + and, terminals align correctly. Replace the wall plate and test the thermostat. Low battery indicators on the display signal when replacement is needed. Use high-quality batteries to maintain reliable performance and avoid electrical issues.

Manufacturer Support and Resources
Honeywell provides comprehensive support, including the official TH4110U2005 manual, customer service contact, and online resources. Visit their website for installation guides, troubleshooting, and warranty information.
9.1 Accessing the Official Honeywell Manual
The official Honeywell TH4110U2005 manual is available for download as a PDF on Honeywell’s website. Visit the support section, select your product model, and download the installation manual or user guide; Additional resources, such as troubleshooting guides and setup instructions, are also accessible through their official portal, ensuring comprehensive support for installation and operation.
9.2 Contacting Customer Support
For assistance with the Honeywell TH4110U2005, visit the official Honeywell Home website and navigate to the support section; You can access FAQs, troubleshooting guides, or contact customer support directly via phone, email, or live chat. Additionally, downloadable resources like the installation manual and user guides are available to help resolve any issues or answer questions about your thermostat.
Ensure the Honeywell TH4110U2005 is installed correctly, and all features function as expected. Verify temperature accuracy, scheduling, and energy settings. Refer to the manual if needed for final adjustments.
10.1 Verifying Proper Installation
After installation, ensure the Honeywell TH4110U2005 thermostat is securely mounted and wired correctly. Check all connections against the terminal layout in the manual. Power on the system and verify the display lights up and responds to button inputs. Test heating, cooling, and fan modes to confirm proper functionality. Review the installation manual for any specific post-installation checks or settings required for optimal performance. Ensure the screen brightness and scheduling features are operational, and the device is programmed according to your preferences. If any issues arise, consult the troubleshooting section or contact customer support for assistance. Proper installation ensures reliable and efficient operation of your HVAC system. Always refer to the official Honeywell manual for detailed verification steps and guidelines to avoid any potential errors or system malfunctions.
10.2 Ensuring Optimal Performance
To ensure optimal performance, regularly clean the thermostat’s screen and check for dust buildup. Update the device to the latest software version if available. Review and adjust settings to match your energy usage preferences. Schedule periodic HVAC system maintenance to maintain efficiency. Use the energy-saving features and monitor performance through the thermostat’s interface to identify potential improvements and ensure consistent comfort and energy savings.