

Welcome to the iCSee Camera Manual! This guide helps you master your camera’s installation, configuration, and features for optimal performance and security․ Start your journey here․
1․1 Overview of the iCSee Camera and Its Features
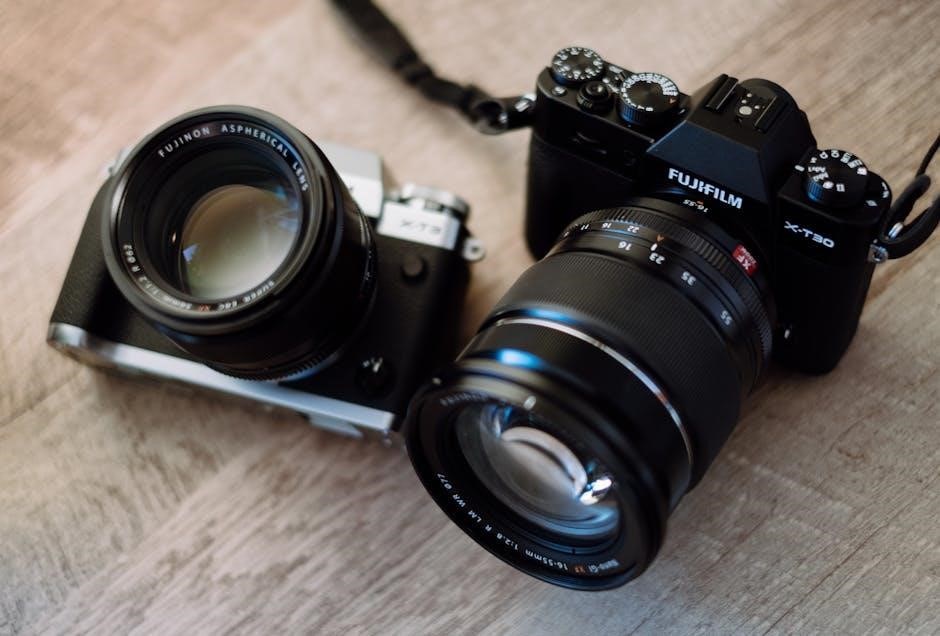
The iCSee camera offers high-definition video streaming, motion detection, night vision, and two-way audio․ It supports PTZ controls for remote adjustments and features weather-resistant housing․ Compatible with the iCSee app, it allows users to monitor live feeds and manage settings effortlessly․ Its sleek design and advanced features make it ideal for home or business surveillance needs․
1․2 Importance of the Manual for Proper Camera Setup
This manual is essential for understanding and utilizing your iCSee camera’s full potential․ It provides detailed guidance on installation, configuration, and troubleshooting, ensuring a seamless setup process․ By following the manual, users can optimize camera performance, enable advanced features, and resolve common issues efficiently, guaranteeing a secure and reliable surveillance experience․
Downloading and Installing the iCSee App
The iCSee app is available for download on the App Store and Google Play․ Install it to manage your camera settings and access features seamlessly․
2․1 Step-by-Step Guide to Downloading the App from App Store or Google Play
Open the App Store (for iOS) or Google Play Store (for Android)․
In the search bar, type “iCSee” and select the app from the results․
Click the “Download” or “Install” button to begin the process․
Wait for the app to download and install automatically․
The app is free and designed to help you manage your camera seamlessly․
2․2 Creating an Account and Logging In
Open the iCSee app and select “Register” to create a new account․
Enter your email address or phone number and create a strong password․
Verify your account via the confirmation link or code sent to your email or phone․
Log in using your credentials to access camera settings and features․
This secure process ensures only authorized users can access your camera․
Connecting the Camera to the Network
Connect your iCSee camera to a stable network using Wi-Fi or Ethernet for seamless operation․ Ensure your router supports 2․4GHz for Wi-Fi connectivity․
3․1 Wi-Fi Network Configuration
To configure your iCSee camera’s Wi-Fi network, ensure your router supports 2․4GHz frequency․ Open the iCSee app, select your camera, and choose the Wi-Fi network from the list․ Enter the password and complete the setup․ For optimal connection, perform this process near your router․ Once connected, you can reposition the camera within the router’s range for reliable performance․
3․2 Wired Ethernet Connection Setup
For a wired connection, use an RJ-45 Ethernet cable․ Connect one end to the camera’s Ethernet port and the other to your router․ Power on the camera and open the iCSee app to complete the setup․ This method provides a stable and reliable connection, ideal for users requiring consistent performance without Wi-Fi interference․
3․3 Troubleshooting Wi-Fi Connectivity Issues
Ensure the camera is within your router’s range and the signal is strong․ Check for network interference or obstacles․ Verify the Wi-Fi password is correct and your router supports 2․4GHz (5GHz is not supported)․ Restart both the camera and router․ If issues persist, reset the camera and reconfigure the Wi-Fi settings through the iCSee app․

Camera Device Setup and Management
Install the iCSee app, configure network settings, and insert SD/SIM cards․ Sync the camera with the app to enable remote monitoring and advanced features․
4․1 Adding the Camera to the iCSee App
Open the iCSee app and log in․ Tap the “+” icon to add a new device․ Select “Wi-Fi Camera” from the menu, then follow the in-app instructions to connect your camera to the network and sync it with your account․ Ensure your camera is powered on and nearby for a successful setup․
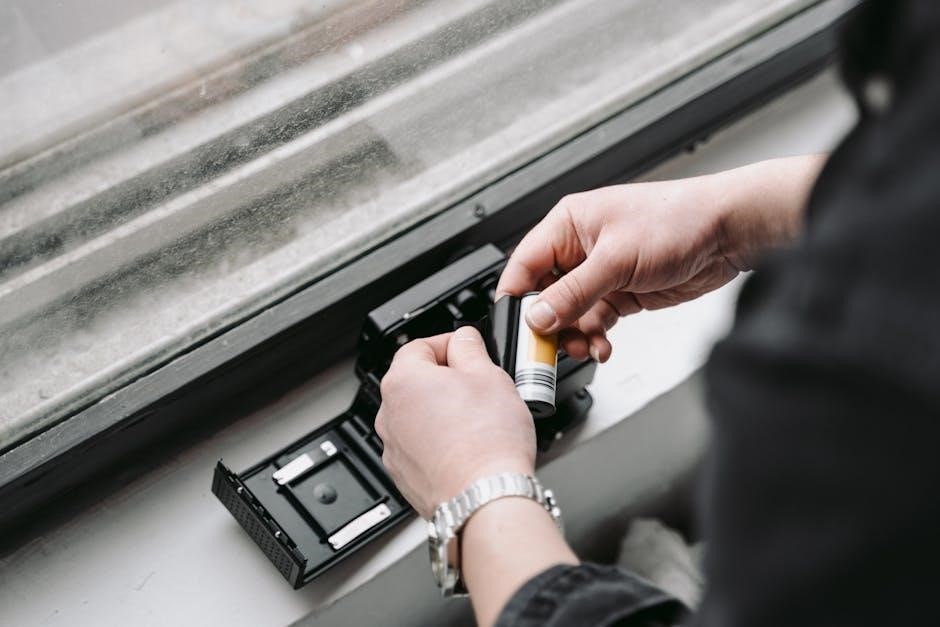
4․2 Inserting the SD Card and SIM Card
To use your camera effectively, insert an SD card for storage and a SIM card for cellular connectivity․ Locate the card slots on the camera’s side․ Gently push the SD card into its slot until it clicks․ Insert the SIM card into its designated slot, ensuring proper alignment․ Close the slots securely, then power on the camera to synchronize the cards with the iCSee app․
4․3 Initial Camera Configuration and Syncing
Power on your camera and launch the iCSee app․ Follow the in-app setup wizard to configure basic settings․ Once powered on, the camera will prompt you with a voice message indicating successful startup․ Enter the default password (found in the manual) to access the camera․ The app will guide you through syncing and connecting the device to your network․ Ensure the camera is recognized and connected to confirm successful setup․ Check for firmware updates to ensure optimal performance․

Viewing Live Feed and Recorded Footage
This section explains how to access live video and playback recorded footage using the iCSee app․ Swipe between live feed and recordings for easy navigation․
5․1 Accessing Live Video Streaming
To access live video streaming, open the iCSee app and select your camera from the device list․ Ensure your device is connected to the same Wi-Fi network․ Tap the “Live View” button to start streaming․ The feed will display in HD quality, allowing real-time monitoring․ Use the app’s controls to adjust settings or switch between cameras seamlessly․
5․2 Playing Back Recorded Videos
To playback recorded videos, open the iCSee app and navigate to the “Playback” section․ Select the desired date and time to view recorded clips․ Thumbnails of recorded videos will appear; tap one to play․ Use the playback controls to pause, rewind, or adjust speed․ Videos are stored on the SD card or cloud storage, ensuring easy access to past recordings․

Customizing Camera Settings
Customize your camera’s resolution, frame rate, and motion detection settings for optimal performance․ Adjust time zones and synchronization to ensure accurate recordings and alerts tailored to your needs․
6․1 Adjusting Resolution and Frame Rate
To optimize video quality, access the camera settings in the iCSee app․ Select your preferred resolution and frame rate, balancing clarity and resource usage․ Higher settings enhance detail and smoothness but may increase bandwidth and storage demands․ Adjust according to your monitoring needs and ensure settings are saved for optimal performance․
6․2 Enabling Motion Detection and Alerts
To enable motion detection, open the iCSee app and navigate to the camera settings․ Select “Motion Detection” and adjust sensitivity levels to customize alerts․ Enable notifications to receive alerts on your device when motion is detected․ This feature enhances security by keeping you informed of any activity captured by your camera․
6․3 Setting Up Time Zones and Synchronization
To set up time zones, go to the camera settings in the iCSee app․ Select your region to automatically adjust the time zone․ For synchronization, ensure your camera’s time matches your device or an NTP server․ Adjust settings for daylight saving time if applicable․ Accurate time synchronization is crucial for proper recording and event logging functionality․
Advanced Features of the iCSee Camera
Explore the advanced capabilities of your iCSee Camera, including PTZ controls for precise camera movements, two-way audio for real-time communication, and superior night vision for enhanced low-light monitoring․ These features elevate your surveillance experience to the next level․
- PTZ controls for remote pan, tilt, and zoom functionality․
- Two-way audio for clear communication through the camera․
- Night vision with infrared LEDs for 24/7 monitoring․
7․1 Using PTZ (Pan-Tilt-Zoom) Controls
PTZ (Pan-Tilt-Zoom) controls enable remote camera movement and zooming for precise monitoring․ Use the iCSee app to adjust the camera’s angle, tilt, and zoom level effortlessly․ Swipe on the screen to pan or tilt, and pinch to zoom in or out․ This feature allows you to focus on specific areas, enhancing surveillance coverage and flexibility․ Ensure your camera is PTZ-compatible for optimal functionality․
- Swipe left/right/up/down to adjust the camera’s position․
- Pinch to zoom in/out for detailed views․
- Use on-screen controls for precise adjustments․
7․2 Two-Way Audio Communication
The iCSee camera supports two-way audio, enabling real-time communication through the app․ Speak to people near the camera and listen to their responses․ This feature is ideal for remote interactions, such as greeting visitors or deterring intruders․ Ensure the camera is connected to the internet and has a built-in speaker for optimal functionality․
- Log in to the iCSee app․
- Select the camera from the device list․
- Tap the microphone button to start speaking․
7․3 Night Vision and Infrared Settings
Enhance your camera’s low-light monitoring with night vision and infrared settings․ The iCSee camera automatically switches to night vision mode, ensuring clear video even in darkness․ IR LEDs illuminate the scene without visible light, capturing footage up to 10 meters․ Adjust sensitivity in the app for optimal performance․ For outdoor use, ensure weather resistance (IP66 rating) is maintained․
- Enable night vision in the camera settings․
- Adjust IR sensitivity for clearer images․
- Check weather resistance for outdoor placement․
Troubleshooting Common Issues
Troubleshoot common issues like connectivity problems or video lag․ Restart the camera, check network settings, and ensure firmware is updated․ Refer to the app for detailed solutions․
- Restart the camera and router․
- Verify stable internet connection․
- Update firmware and app․
8․1 Resolving Connectivity Problems
Resolve connectivity issues by restarting the camera and router․ Ensure the camera is connected to a 2․4GHz network, as it may not support 5GHz․ Verify Wi-Fi settings, check for physical obstructions, and confirm the network name (SSID) is visible․ Update firmware and reinstall the app if issues persist․ Consult the manual for detailed troubleshooting steps․
- Power cycle the camera and router․
- Ensure 2․4GHz network compatibility․
- Check for firmware updates․
8․2 Fixing Video Streaming Lag or Buffering
To resolve video lag or buffering, reduce video quality in settings, ensure a stable internet connection, and check for app updates․ Lowering resolution or frame rate can improve streaming performance․ Restart the camera and router, and close other bandwidth-intensive applications․ Ensure proper network signal strength and avoid physical obstructions․
- Adjust video resolution and frame rate․
- Check internet speed and stability․
- Restart the camera and router․
- Update the app to the latest version․
Security and Privacy Settings
Safeguard your privacy by enabling password protection for your camera and app․ Use strong passwords and ensure data encryption is enabled for secure video transmission․
- Set up multi-layer security for access control․
- Enable encryption for data protection․
- Regularly update firmware for security patches․
9․1 Enhancing Camera Security with Password Protection
Password protection is essential to prevent unauthorized access․ Use strong, unique passwords and enable two-factor authentication for added security․ Regularly update your credentials and avoid using common passwords․ Ensure firmware is up-to-date for the latest security patches․
- Set a strong password during initial setup․
- Enable password protection for app access․
- Avoid using easily guessable passwords․
9․2 Managing Data Privacy and Storage
Protect your data by configuring storage settings and enabling encryption․ Choose between local SD card storage or cloud options․ Set retention periods and access rights to ensure privacy․ Regularly review settings to maintain compliance with privacy laws and enhance security․
- Enable encryption for stored footage․
- Customize access rights for users․
- Review settings periodically for optimal privacy․
- Check for updates in the app settings․
- Download and install the latest version․
- Restart the camera to apply changes․

Updating Firmware and Software
Regularly update your camera’s firmware and software to ensure optimal performance, security, and access to the latest features․ Follow in-app prompts for seamless updates․
10․1 Checking for Firmware Updates
Open the iCSee app, navigate to the settings menu, and select your camera from the dropdown․ Click on ‘Firmware Update’ to check for the latest version․ The app will automatically search for updates․ If an update is available, follow the on-screen instructions to download and install it․ Ensure a stable internet connection during the process to avoid interruptions․ Allow the update to complete and the camera to restart if necessary․
10․2 Installing the Latest Software Version
To install the latest software version, open the iCSee app and go to the settings menu․ Select your camera from the dropdown list and click on ‘Update Now․’ The app will download and install the update automatically․ Keep the camera powered on and ensure a stable internet connection during the process․ The device will restart once the update is complete to apply the changes․

Warranty and Support Information
Your iCSee camera is backed by a one-year warranty․ For support, contact our customer service team via email or phone for assistance with any issues or inquiries․
11․1 Understanding the Warranty Terms
Your iCSee camera warranty covers manufacturing defects for one year from purchase․ It does not apply to damage caused by misuse or accidents․ For details, refer to the warranty document provided with your purchase or visit the official website for comprehensive terms and conditions․
11․2 Contacting Customer Support
For assistance, visit the official iCSee website and navigate to the support section․ Contact options include email, phone, and live chat․ Ensure you have your camera’s serial number ready for faster service․ Customer support is available 24/7 to address any inquiries or concerns regarding your iCSee camera․
Congratulations on completing the iCSee Camera Manual! You’re now equipped to set up, manage, and explore advanced features for enhanced security and functionality․ Happy exploring!
12․1 Summary of Key Takeaways
By following this manual, you’ve successfully set up your iCSee camera, explored its features, and learned troubleshooting tips․ Key takeaways include proper network configuration, motion detection setup, and regular firmware updates for optimal performance․ Use these insights to maximize your camera’s functionality and ensure a secure, seamless experience․ Happy monitoring!
12․2 Encouragement to Explore Advanced Features
Now that you’ve mastered the basics, dive into advanced features like PTZ controls, two-way audio, and night vision to unlock your camera’s full potential․ Experiment with motion detection, video quality settings, and time synchronization for a tailored experience․ Refer to this manual whenever you need guidance, and enjoy exploring all your iCSee camera has to offer!